French Bread Rolls {Step-by-Step}
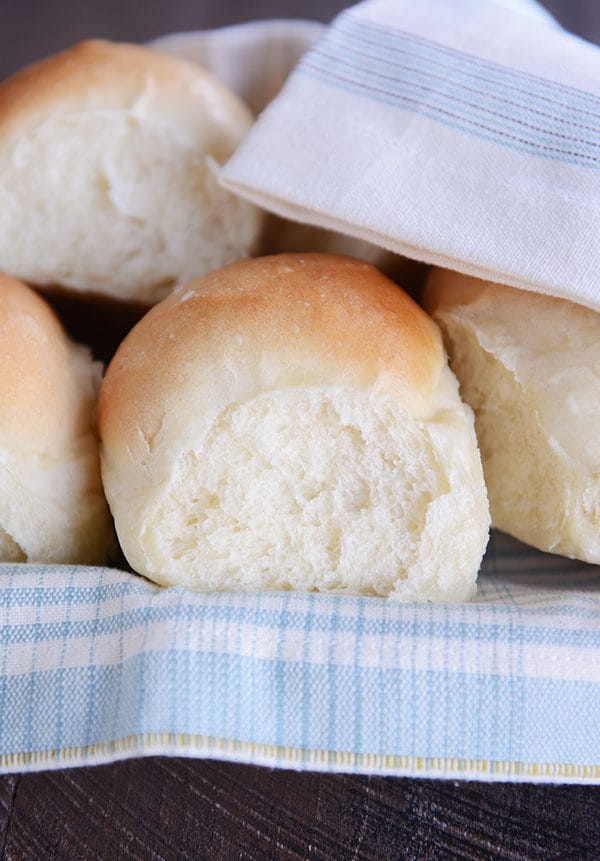
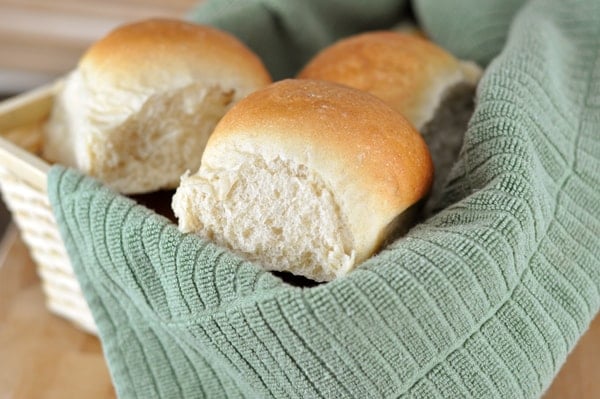
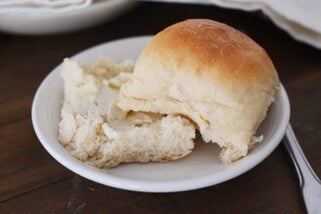
These popular, no-fail French bread rolls are light, fluffy and delicious! They are so easy to make; perfect for bread-making beginners and experts alike!
If you want one of the easiest, foolproof, most delicious roll recipes around, this is it.
French Bread Roll Dough
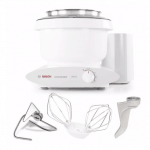
The dough for these French bread rolls is straightforward and very forgiving. I usually use my Bosch stand mixer, but many of you make this dough in a KitchenAid mixer and others make it by hand.
Dough ingredients:
- Warm water: between 105 and 110 degrees F.
- Yeast: either instant yeast or active dry yeast can be used in this recipe.
- Sugar: a little bit of sugar helps the dough rise quickly.
- Oil: this helps keep the dough supple and smooth.
- Salt: table salt
- Flour: all-purpose or bread flour can be used with good results in this recipe. You can also sub in 50% whole wheat flour for part of the white flour; if doing so, I recommend using a white wheat variety, which helps the dough stay light and fluffy.
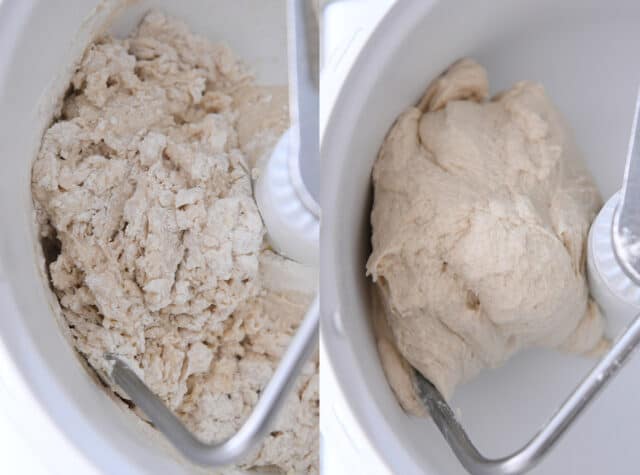
Mix all the ingredients together until the dough forms a soft, slightly sticky ball of dough that clears the sides of the bowl and doesn’t leave a lot of sticky residue on your fingers.
Tips for Making Yeast Dough at Home
Stop stressing about adding the exact amount of flour called for in a recipe! Many, many factors determine how much flour is needed (elevation, humidity, how we each measure flour, etc.)
Judge the dough based on how it feels and how it looks. If you need to add a bit more flour, that’s ok!
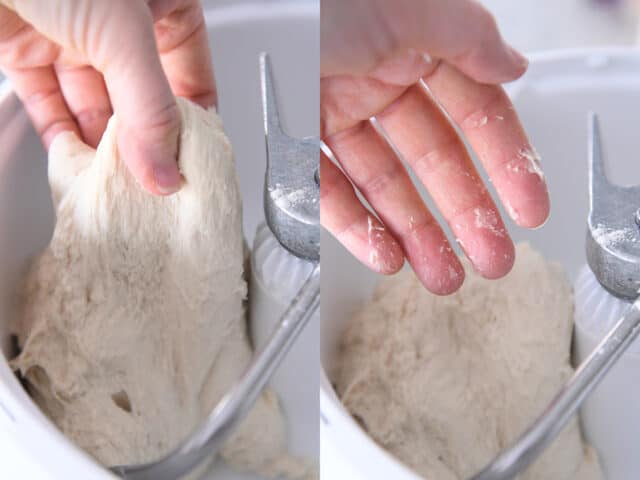
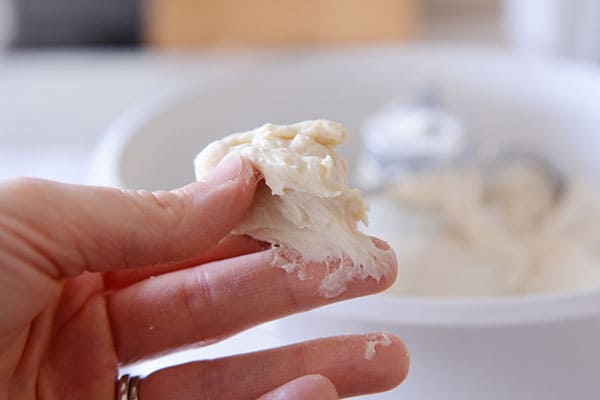
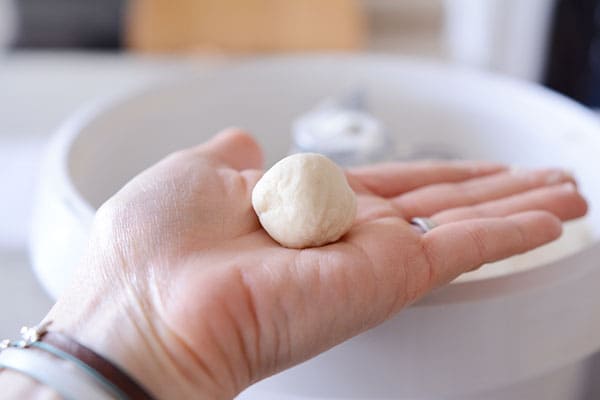
For this recipe, grab a piece of dough after the flour has been added. Initially, it might leave a little sticky residue on your fingers.
Try rolling it into a ball without any oil or cooking spray on your hands. If it can form a ball shape without sticking to your hands in a shaggy, horror-movie mess, you are good to go. If not, add a bit more flour (a couple tablespoons), mix and try again.
Adding too much flour can spell death to light and fluffy homemade bread or rolls.
Rise and Shape the Rolls
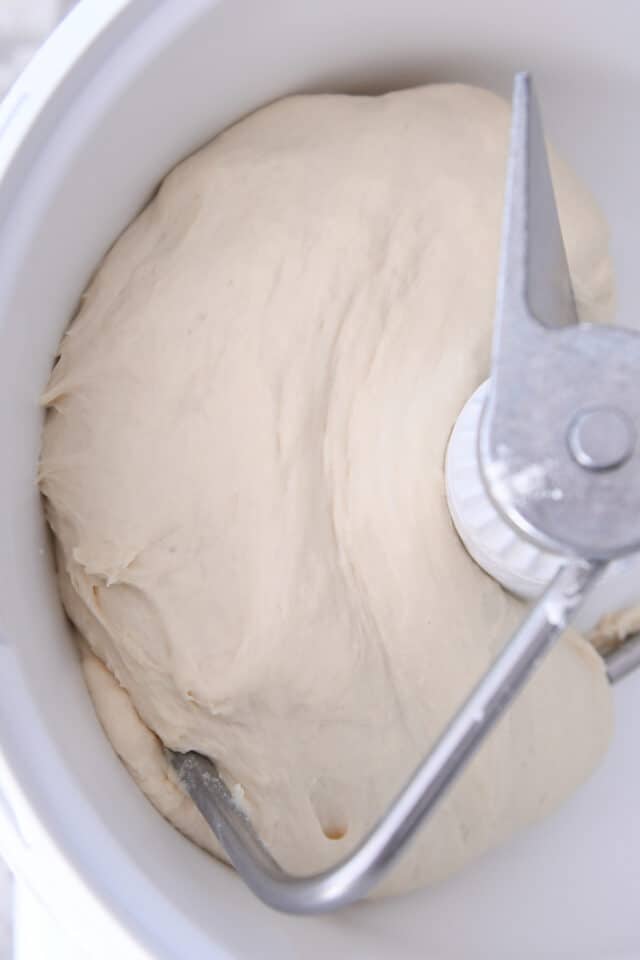
This French bread roll dough rises quickly.
Once it has doubled in size, it’s ready to get shaped into rolls.
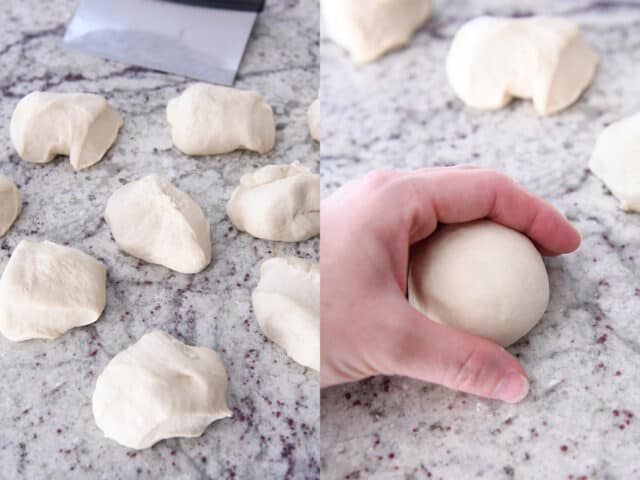
Cut the dough into 12 equal pieces. I usually weigh each piece to make sure they are uniform. Each dough piece usually weighs right around 2.6 to 2.7 ounces.
Cup your hand and roll the dough into a smooth ball (keep the pinky side of your hand against the counter while you roll). Pinch the bottom to seal, if needed.
Place the rolls in a greased 9X13-inch pan.
For a double batch (I almost always double the batch), I like to place and bake the rolls on a half sheet pan (24 rolls fit perfectly).
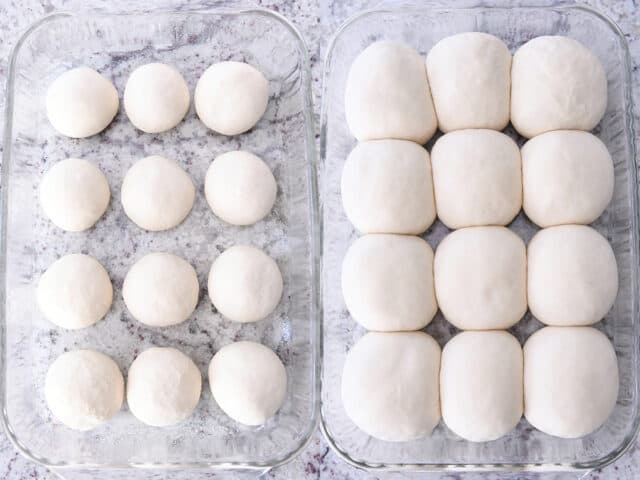
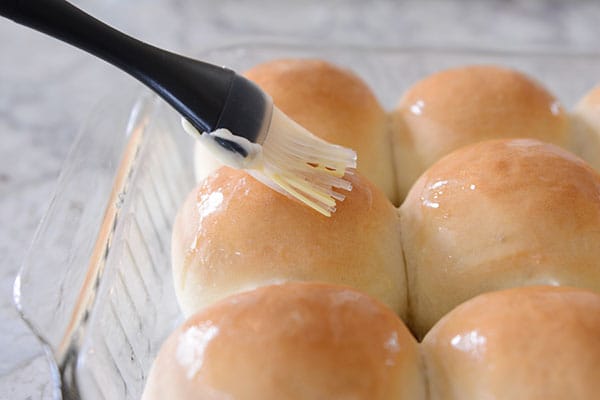
Bake the rolls until golden and then brush the tops with butter.
The Perfect Roll for Sandwiches or Subs
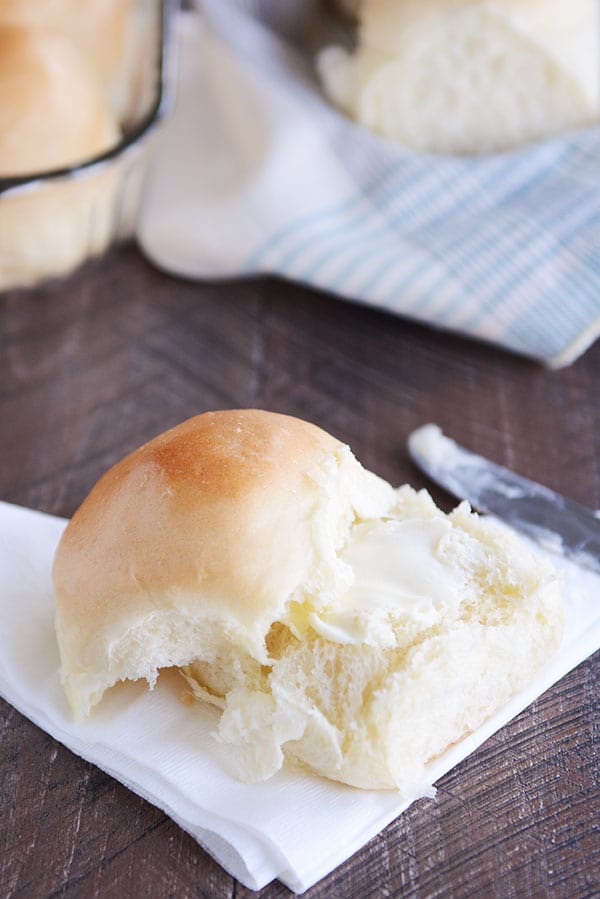
Over the years, these French bread rolls have become more than a dinner roll.
These French bread rolls have become my go-to for any recipe that needs a wonderful all-purpose roll or bun.
Here are a few examples:
Whole Wheat Version
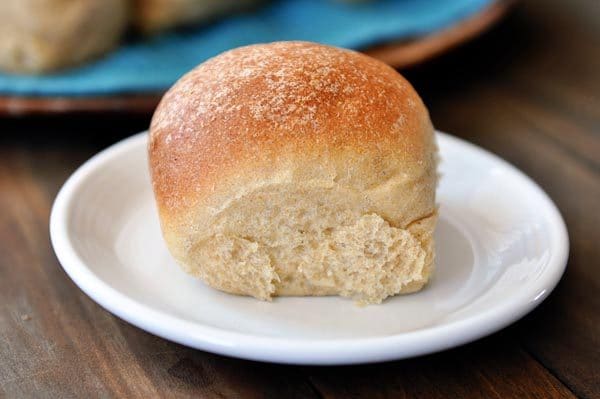
I also posted a 100% whole wheat version of these French bread rolls with a few small but important notes/changes, so if whole wheat is more your jam, check that out (although you can definitely add whole wheat flour to the recipe below as I’ve done many a time throughout the years).
Freezer Friendly
There is not an easier, more perfect roll recipe out there!
These French bread rolls come together fast, and honestly, I haven’t met a single person who wouldn’t fight to the death for one of these fluffy, heavenly rolls.
I always, always at least double (most often triple) the French bread rolls batch, because the baked and cooled rolls freeze amazingly well!
Tools for Making French Bread Rolls at Home:
*Affiliate links included below for products I’ve purchased from Amazon; feel free to shop around for the best price!*
- -I like to weigh out the dough for this recipe and others; this is the beloved kitchen scale that I have
- -Here is the large 8-quart container I use for letting the dough rise (comes in many different sizes; also carried in stores like Standard Restaurant Supply, if you have one local); smaller 4-quart version here (keep in mind you have to purchase the lids separately)
- –Silicone pastry brush for slathering on the butter
- -My favorite OXO bench knife for portioning out the dough
A quick note about mixers: I have a Bosch Universal and use it for 99% of the bread recipes I make. Here is a side-by-side (unsponsored) review I did between a Bosch stand mixer and a KitchenAid stand mixer.
French Bread Rolls
Ingredients
- 1 ½ cups warm water
- 1 tablespoon instant or active dry yeast (see note)
- 2 tablespoons granulated sugar or honey
- 2 tablespoons canola oil, vegetable oil or other neutral-flavored oil (olive oil will work, too)
- 1 teaspoon salt
- 3 ½ to 4 cups (497 to 569 g) all-purpose or bread flour, more or less (see note)
Instructions
- In the bowl of a stand mixer fitted with the dough hook or in a large bowl by hand, combine the warm water, instant yeast, sugar, oil, salt and 2 cups of the flour.
- Begin mixing, and continue to add the rest of the flour gradually until the dough has pulled away from the sides of the bowl. Begin kneading the dough for 4-5 minutes in a stand mixer (7-9 minutes by hand).
- The dough should be soft and smooth but still slightly tacky to the touch. After a few minutes of kneading, stop the mixer and grab a small piece of dough to test if it needs more flour or not. It might leave a little bit of sticky residue on your fingers, but if you can roll it into a small ball without it sticking all over to your hands, it is good to go. If not, gradually add a bit more flour as needed.
- Place the dough in a lightly greased bowl and cover. Let the dough rise until doubled, 1-2 hours.
- Lightly punch down the dough and turn it out onto a lightly greased countertop.
- Divide the dough into 12 equal pieces (about 2.75 ounces each, more or less), and form the dough into round balls (video tutorial here right at minute marker 2:20).
- Place the rolls in a lightly greased 9X13-inch pan or on a large, rimmed baking sheet lined with parchment or lightly greased. Space the rolls about 1/2- to 1-inch apart.
- Cover the rolls with lightly greased plastic wrap taking care not to pin the plastic wrap under the baking sheet or else the rolls will flatten while rising. Let the plastic wrap gently hang over the sides of the pan to fully cover the rolls but not press them down.
- Let the rolls rise until very puffy and doubled, about 45 minutes to 1 hour.
- Preheat the oven to 400 degrees. Bake for 15-17 minutes until lightly browned and cooked through.
- Immediately out of the oven, brush with butter.
Notes
Recommended Products
Recipe Source: Mel’s Kitchen Cafe
Recipe originally published 12/2007; updated with new pictures, step-by-step tutorial, and recipe notes.




What a great recipe! I made one batch, made 6 rolls, then used the other half of the dough and made cinnamon rolls with it. Oh man were they good!!
Wow these rolls are awesome thankyou so much and so easy thanks from Australia
This is our go to recipe for our family. My kids love these buns!
Can you make this in a bread machine
I haven’t tried that, but I believe others have with good success.
Absolutely! I have another batch rising in my Zojirushi bread maker. right now. Can’t keep them long around here 🙂
These are such wonderful rolls!
Made sub rolls. So far my go to now
These are lovely though a little too sweet for my taste. Have you tried making them with less sugar or would this affect the rise? Thanks for the recipe!
Yes, you can cut the sugar down if you’d like.
Easy recipe for beginners. I’m usually an anxious baker but these came out brilliant on the first try. So soft and fluffy. I just added a lil coarse salt and sesame seeds on top. Greetings from South Africa!
So happy to hear that, Saira! Thanks for letting me know!
Hi! I’m curious of if I could cut out the sugar/honey from the recipe and it would still be okay? I know sugar is used often just to help the yeast activate, but would it also change the flavour?
Hi Rex, eliminating the sugar or honey will change the flavor a bit, but you can definitely experiment leaving it out.
They are so quick and easy, I was amazed at how delicious they are. These are my go to rolls..
Very happy to hear that!
I love these rolls! I make them every weekend and freeze them to use throughout the week. I prefer a slightly more flavorful roll so I uped the sugar and oil to 4 Tbsp and the salt to 1 1/2 tsp. They come out great every time!
Thanks for the comment – glad you love these!
I originally made these rolls because my Grandson has a severe dairy allergy and they are dairy free. I continue to make them because they are so good that everyone requests I make them.
My entire family (sisters, mom, aunts, brothers, etc) love to use this recipe and it has become a staple in my own household!
But I wanna know.. can you freeze the dough similar to a Rhodes Rolls type of thing? This would make my life even easier !
Yes, it works great! Freeze the dough balls on a baking pan BEFORE they rise and then transfer the frozen dough balls to a freezer bag.
INCREDIBLE! I bake a lot—breads, buns, sourdough, pizza dough—and I’m always on the lookout for a great new recipe. I made five batches of these for a party I’m hosting tomorrow, hoping they’d be good (they are!) to serve with pulled pork. Honestly, I’m not sure there will be any left for the party because my family keeps sneaking them! They’re absolutely delicious and some of the easiest buns I’ve ever made.