Cinnamon Swirl Bread
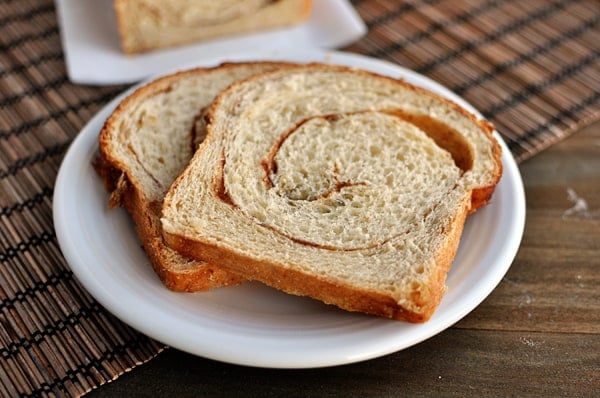
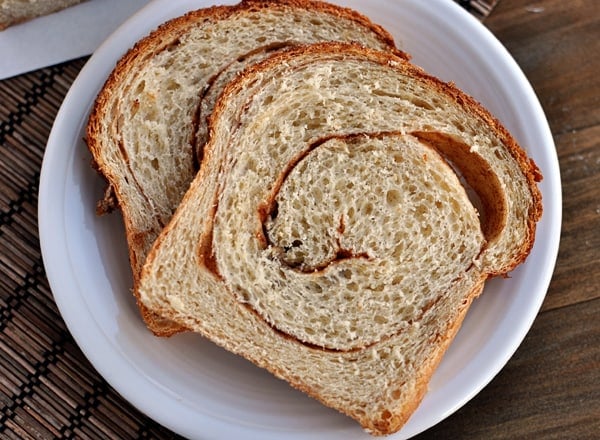
This deliciously fragrant, homemade cinnamon swirl bread is beyond delicious fresh and even better as toast!
I’ve said it before, but I’ll say it again. For the record, my two main goals in life are to
1) raise sweet-smelling, sensitive, caring boys (and now a girl, too!) and
2) help everyone conquer making and baking yeast breads at home.
A year or so ago, I started doing more informative step-by-step posts on different kinds of breads to help with goal #2 (goal #1 is still a mighty work in progress, particular the sweet-smelling part).
And then I stopped. I think baby #5 had something to do with that.
Before the hiatus, we got through step-by-step bagels and ciabatta bread. And then an in-depth post on the basics of whole wheat bread.
My goal is to inspire and insist and beat into the ground that bread-from-scratch can be conquered by anyone. It doesn’t have to be intimidating!
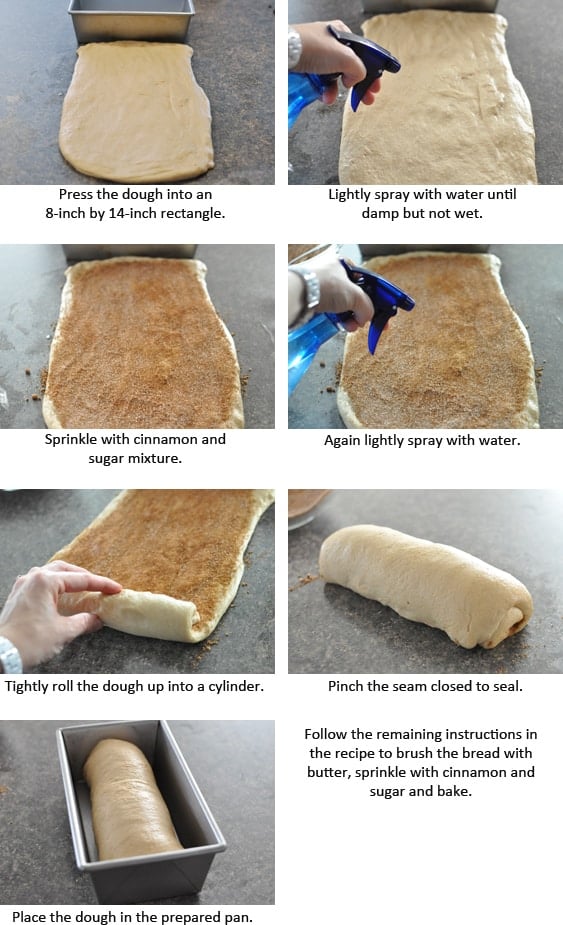
I’m back today with a look at classic and delicious cinnamon swirl bread – the pictures I included for the tutorial are mainly for the shaping and rolling.
You can check out this post for a great lesson on the perfect texture of bread dough and working with yeast in general.
I make this bread most often when I need a nice homemade food idea for someone.
It’s perfect for a new neighbor (or an old neighbor!), a friend’s birthday, an add-on for a take-in meal or new mom tray, a thank you token or for any number of reasons.
The deliciously fragrant, cinnamon bread is so divine as toast (or french toast) that I usually include a note with the bread stating just that.
And usually when I make it, I bake up a couple extra loaves to stash in our freezer because nothing says I love you on a lazy Saturday morning like whipping up cinnamon swirl french toast out of thin air (a.k.a. from the freezer).
Instant rock star status, friends, instant rock star status.
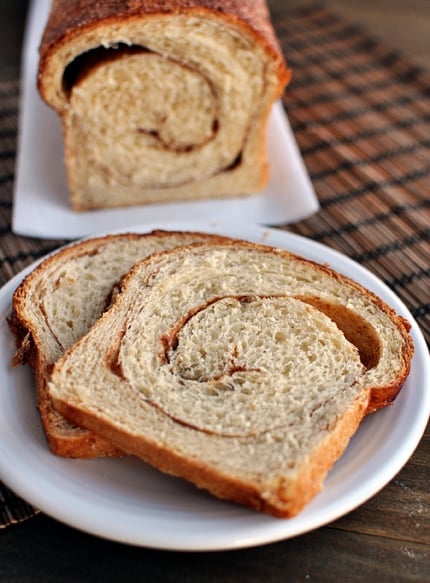
The dough recipe for this bread is different than my standby whole wheat bread recipe(s). It’s a richer, more tender dough (almost like a challah bread dough) and is truly delicious if you are looking for a show-stopping cinnamon swirl bread.
However, I think you could easily take the method from this recipe, which is quite specific for getting the perfect cinnamon swirls, and apply it to your favorite whole wheat or regular bread dough.
On a closing note, I’m putting together a tutorial and in-depth look at wheat and wheat grinding. If you have any questions about that subject, let me know and I’ll add it to the list of things I’ll address.
Trust me, you might think talking about grinding your own wheat is, like, totally boring, but I promise, it’s going to be loads of fun.
One Year Ago: Rosemary Chicken and Wild Rice
Two Years Ago: Magical Layered Brownies
Three Years Ago: Delmonico Potato Bake
Cinnamon Swirl Bread
Ingredients
- 1 cup (212 g) granulated sugar
- ½ cup (106 g) packed light brown sugar
- 2 ½ tablespoons cinnamon
- 2 ½ cups warm milk, about 110 degrees or warm to the touch, but not hot
- 6 tablespoons (85 g) melted butter
- 3 large eggs
- 8 cups (1136 g) all-purpose flour (see note)
- 1 ½ tablespoons instant yeast
- 2 teaspoons salt
- Spray bottle filled with water
- 2 tablespoons (28 g) melted butter for brushing the top of the bread
Instructions
- In a small bowl, mix together the granulated and brown sugar. Mix in the cinnamon. Measure out 4 tablespoons and set it aside for sprinkling on the bread.
- In a large liquid measuring cup or bowl, whisk together the milk, melted butter and eggs. In the bowl of a stand mixer fitted with the dough hook (or in a large bowl if making by hand), combine 6 cups of the flour, yeast, salt and 1/2 cup of the cinnamon/sugar mixture. With the mixer on low speed, add the milk mixture and mix until the dough comes together. Increase the speed to medium, adding more flour as necessary so the dough clears the sides of the bowl but remains slightly sticky. Knead the dough (in the mixer or by hand) until the dough is smooth and elastic, about 6-8 minutes (you’ll need to knead upwards of 15 minutes by hand to achieve the same consistency).
- Place the dough in a large, lightly greased bowl and cover with greased plastic wrap. Let it rise until doubled in size, about 1 to 1 1/2 hours.
- Grease three 8 1/2-inch by 4 1/2-inch bread pans. Turn the dough onto a lightly greased work surface and separate the dough into three equal pieces. Working with one piece at a time, press the dough into an 8-inch by 14-inch rectangle. Very lightly spray the surface of the dough – only 1-2 light sprays. You don’t want the water to puddle on the dough; you want a very fine mist of water across the dough. Sprinkle the dough with 1/3 of the remaining cinnamon/sugar mixture, leaving a 1/2-inch border along one of the short edges. Gently press the cinnamon/sugar mixture into the dough. Again, lightly spray the top of the dough (now sprinkled with cinnamon and sugar) with water. Don’t let the water puddle, just spray a very fine, light mist across the top, 1-3 sprays.
- Roll the dough into a tight cylinder starting with the short edge without the border. The key is to roll the dough as tightly as possible to avoid any gaps in the swirl (I don’t get this perfect every time so don’t worry if there are a few gaps after baking). Pinch the seam closed once it is rolled up all the way. Place the loaf, seam side down, in one of the prepared pans and repeat with the remaining pieces of dough. Cover the pans with lightly greased plastic wrap and let rise until nearly doubled in size, about an hour.
- Preheat the oven to 350 degrees. Brush the loaf very gently with melted butter and sprinkle the reserved cinnamon/sugar mixture over the tops of the loaves (dividing evenly). Bake for 40-60 minutes until baked through. If the bread seems like it is overbrowning on top too quickly, place a piece of tin foil tented lightly over each loaf to finish baking. Cool the loaf in the pan for 10 minutes (too long and it will stick to the pan!) and then turn out onto a wire rack to cool completely.
Notes
Recommended Products
Recipe Source: adapted from The Cook’s Country Cookbook



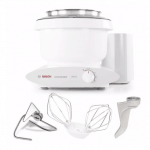




I received a Bosch mixer for Christmas and was super excited to use it to make this recipe! We love this bread, especially on a cold and snowy day, but my Kitchen Aid can’t handle so much flour, so I haven’t made this in a long time. It was delicious and so nice to not worry about overloading the mixer.
Yay, Kate! So fun you have a new Bosch mixer to play with!
40-60 minutes is a big window of time, lol. How do you know when a loaf is baked through?
You can take the internal temperature with an instant-read thermometer – should be around 185-190 degrees F.
Love this bread so much!!! Could you use active yeast instead of instant?
Loooved this recipe. New to making bread. Only made two loaves so reduced recipe by 1/3. Added about 1 1/3 cup raisins to batter with the flour (plumped first by sitting in boiling water for awhile first). Shaped diff (easy braid and cooked in a circle shape in a cake pan) but otherwise followed the recipe. Definitely making this again.
Wow- HUGE rise on these. I wish I could share pictures- the loaves are absurd looking. 😉 I think I’ll divide into (4) 8×4 pans next time. They looked normalish going into the oven- about doubled, an inch or less over the rim of the (3) pans. Baked about an hour . They are easily 5” above the rim. They look like colossal, yeast bread Popovers. Hilarious! My only changes were I used powdered milk (pandemic) and added about a cup of raisins (I know, I know, but we like them). Makes me wonder if the yeast went crazy from the extra sugar in the raisins? Delightful recipe, light fluffy texture and delicious taste. Thanks for the extra giggle and for all you do!
I have read the comments at the end of this tutorial on yeast and they are singing the praise of the recipe. I did not see a recipe in the tutorial. I sure would like to know what I am missing. PS thanks for the super helpful advice and photos on baking with yeast. I am just getting into yeast bread again. Determined to stick with it till I get it right.
100% delicious!